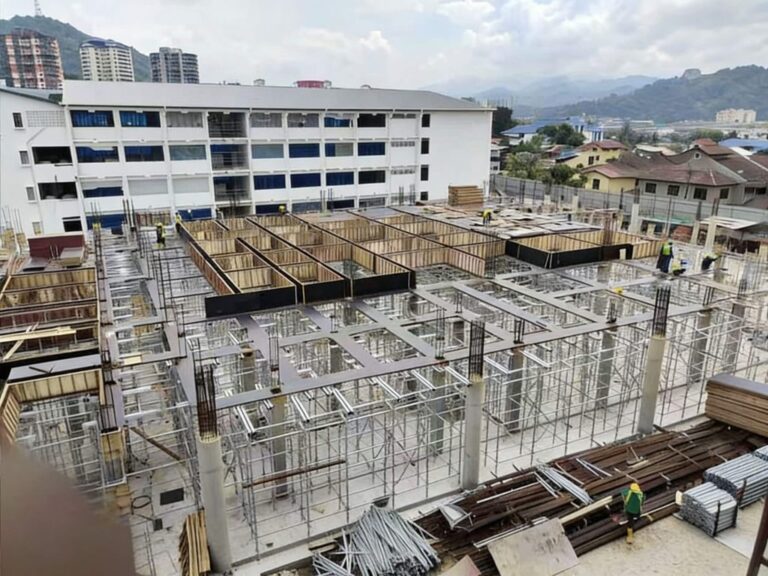


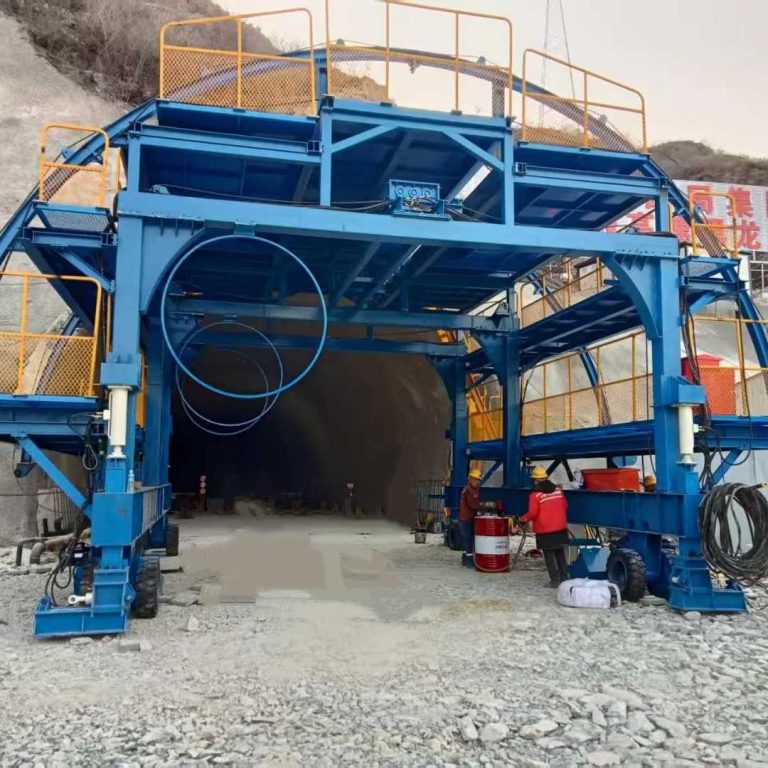

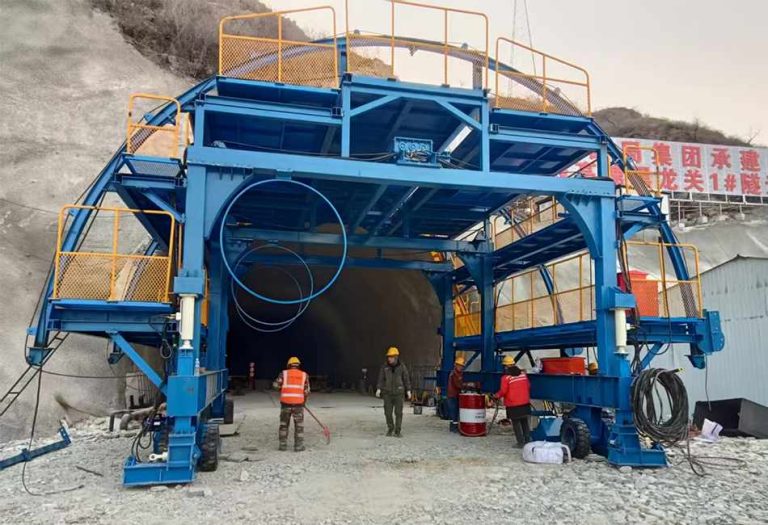


Today’s building work needs good site output. It must not risk the strength of structures. Andamio has changed access to heights in work areas. It uses a simple, piece-based design. This speeds up setup times. It also gives strong support for loads. For managers and engineers, knowing the right setup method is key. It helps follow strict safety rules. It keeps work running smoothly. This guide explains the main steps. It ensures your short-term setups rise correctly from the base.
What Are the Core Components of a Ringlock Scaffolding System?
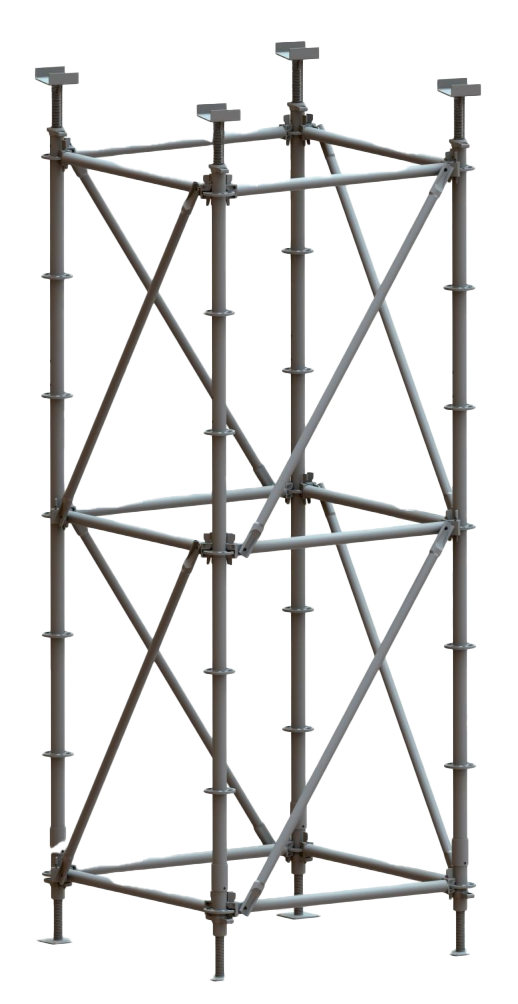
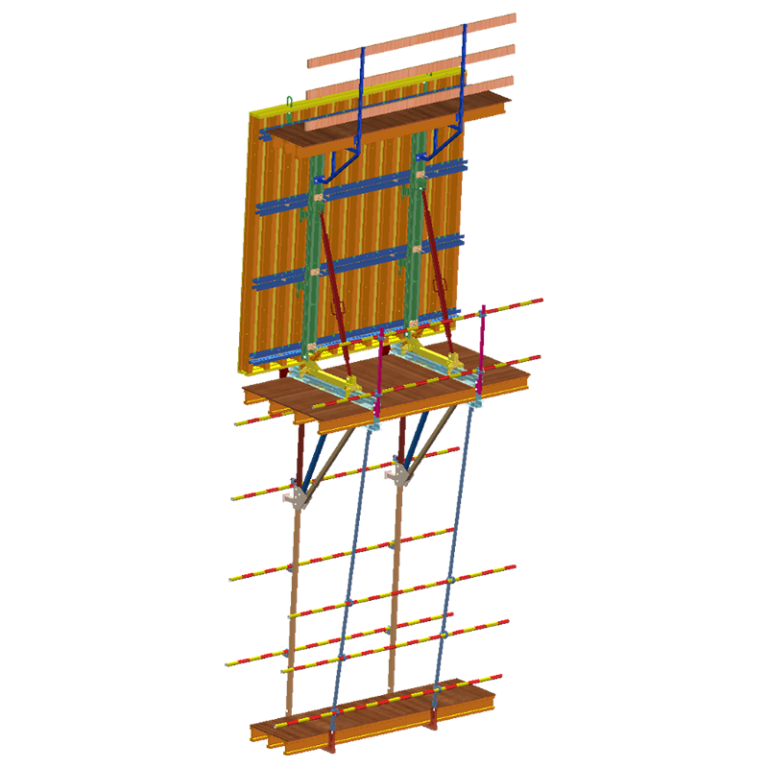
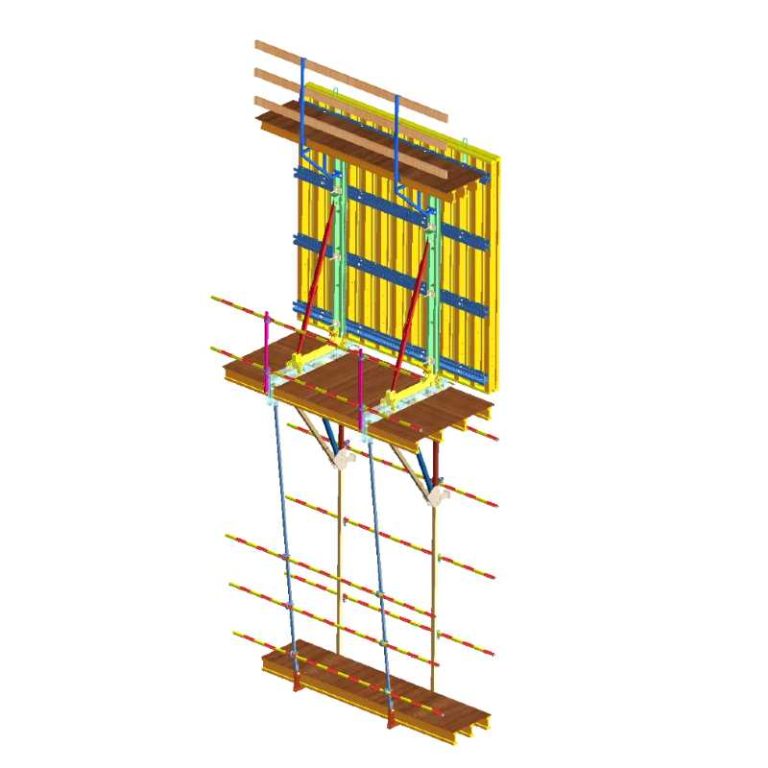
Vertical Standards (Rosettes and Load-Bearing Posts)
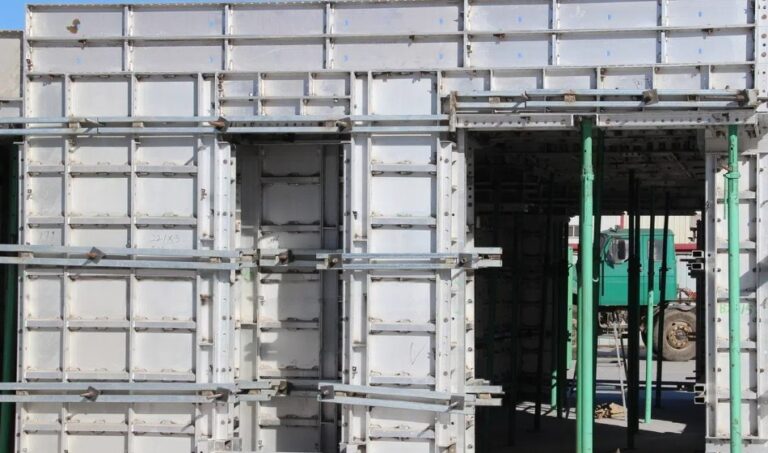
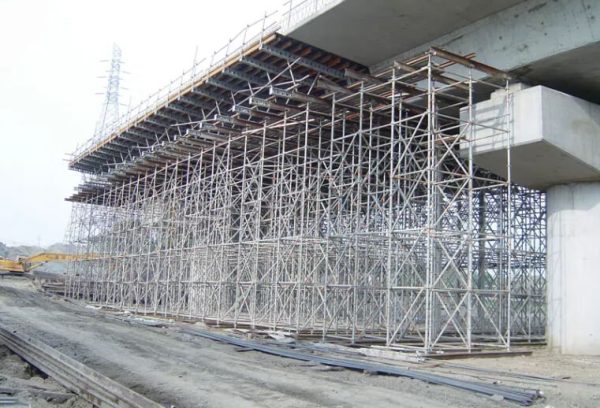
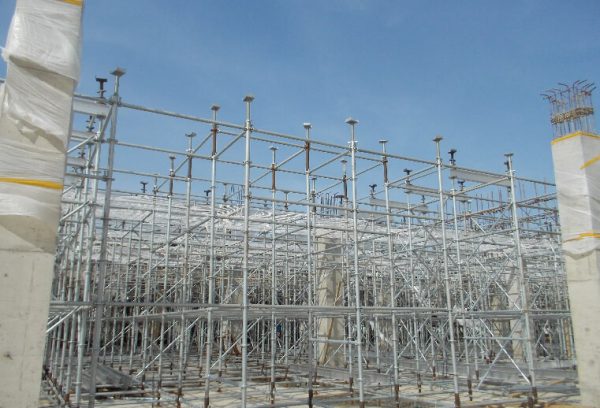
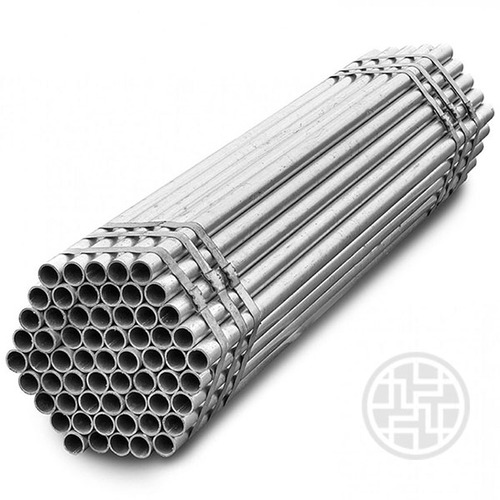
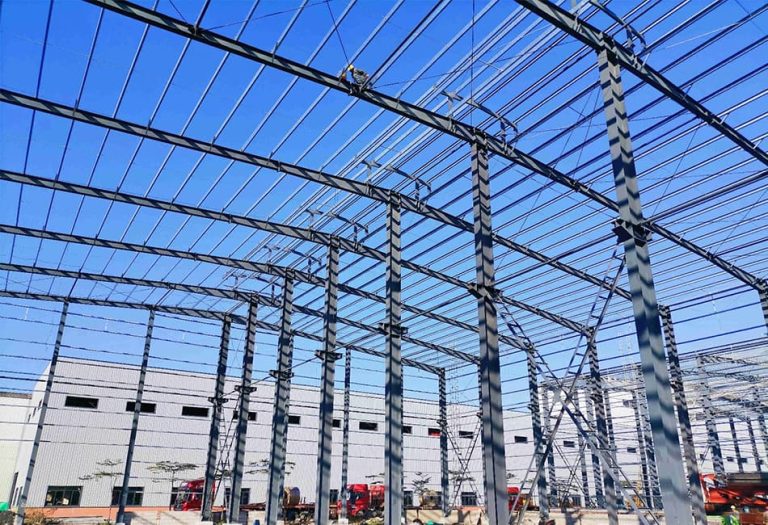
Vertical standards make up the main support of the setup. These strong pipes have rosettes welded on ahead. The rosettes sit at even spaces, usually every 500mm. They allow links in many directions. This fits different building shapes.
Horizontal Ledgers and Secure Wedge Pins
Horizontal ledgers set the size and reach of work areas. They link right to the rosettes with wedge pins built in. This skips loose parts. It cuts the chance of lost items on site.
Diagonal Braces for Enhanced Structural Stability
To prevent swaying and maintain overall structural rigidity, diagonal braces are attached across the vertical and horizontal nodes, transferring lateral loads safely to the foundation.
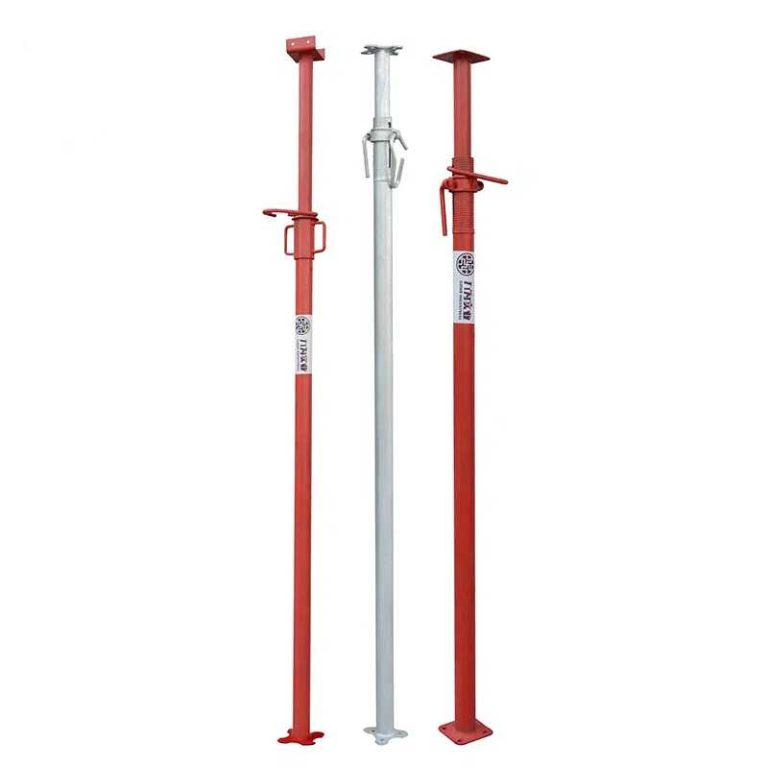
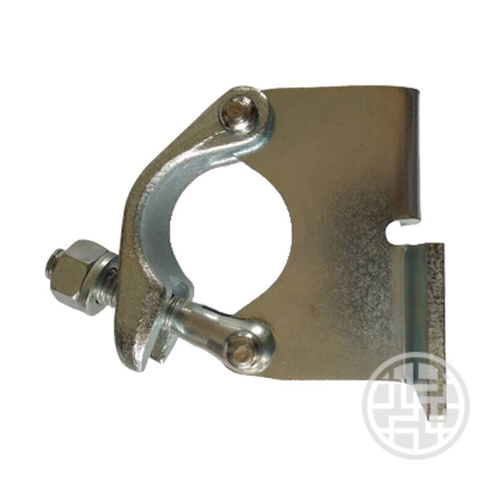
Base Jacks and Collars for Foundation Leveling
Base jacks that adjust hold all the weight of the system. Paired with base collars, they make a flat start point. This works even on rough ground.
How to Prepare Your Site Before Erecting Ringlock Scaffolding?
Conducting Thorough Site Inspections and Ground Leveling
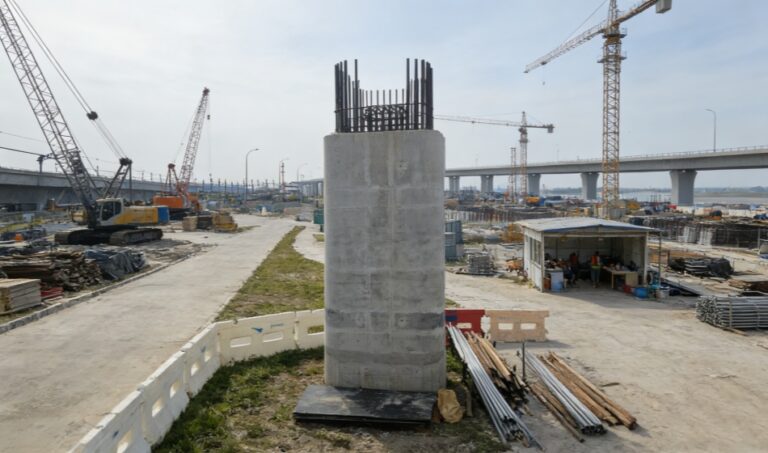
A stable foundation prevents catastrophic failures. Assess soil compaction and use heavy-duty sole boards to distribute weight evenly, ensuring the ground can fully support maximum operational loads during construction.
Verifying Scaffold Components and Load Specifications
Look over all pipes, rosettes, and wedge pins. Check for bends or rust. Make sure the parts match the planned load needs for your job.
Mandating Proper Personal Protective Equipment (PPE)
Safety begins before any pole goes up. The team must wear fall harnesses, hard hats, boots with steel toes, and bright vests. These are required for all setup workers.
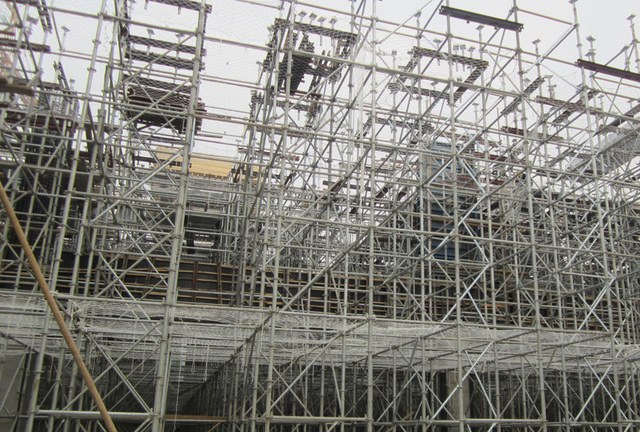
How to Erect Ringlock Scaffolding: The Ultimate Step-by-Step Process
Step 1: Positioning the Base Jacks and Collars Accurately
Place the base jacks as shown in the plan grid. Put the base collars over the threaded jacks. This sets the first link spots for the rest of the frame.
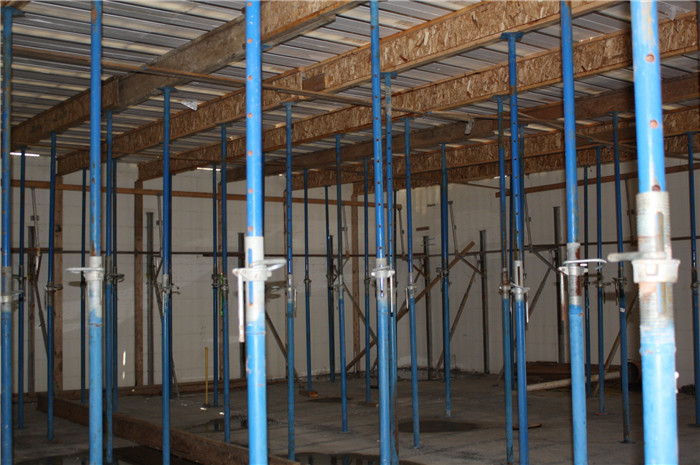
Step 2: Installing the First Level of Horizontal Ledgers
Link horizontal ledgers between the base collars. Form a closed rectangle or square base. Wait to tighten the wedge pins with a hammer. First, check the base fully.
Step 3: Leveling the Foundation Frame
Check a spirit level on the horizontal ledgers. Turn the nuts on the base jacks. Do this until the base frame sits flat. When level, hammer the wedge pins in hard. This locks the base.
Step 4: Inserting Vertical Standards to Desired Heights
Fit the vertical standards into the base collars’ sockets. Make sure they stand straight. Then, connect the next horizontal ledgers at the needed work height.
Step 5: Securing Diagonal Braces for Maximum Rigidity
Fix diagonal braces between rosettes on nearby standards. This builds truss-like strength. It ties the vertical and horizontal parts into a firm grid.
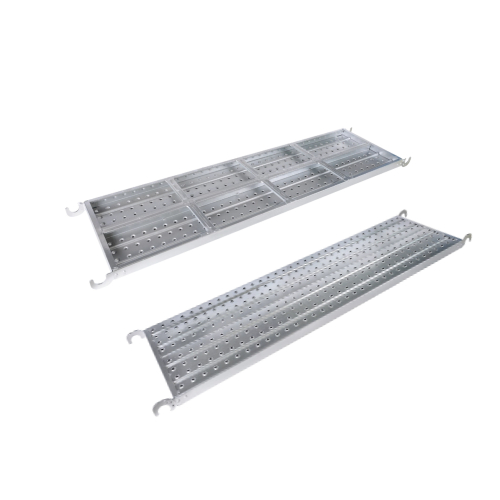
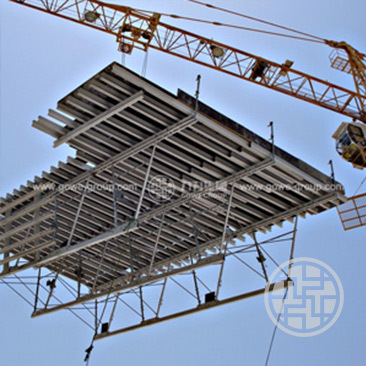
Step 6: Placing Working Planks, Toe Boards, and Guardrails
Install steel or aluminum planks across the ledgers to create safe working platforms. Secure toe boards to prevent tool drops, and add double guardrails at waist and mid-height levels for maximum fall prevention.
What Are the Best Practices for Scaffolding Dismantling and Maintenance?
Safe Dismantling Procedures (The Reverse Assembly Rule)
Do not drop or toss parts from high up. Take apart in the opposite order of setup. Work from top to bottom step by step. This keeps the structure steady until the last base ledger comes off safely.
Post-Project Inspection and Long-Term Storage Tips
After taking apart, clean all threads and parts that move. Keep items in a dry spot with good air flow. Raise them off the floor. This stops water buildup and extends their use time.
Why Sourcing from a Reliable Manufacturer Elevates Project Safety
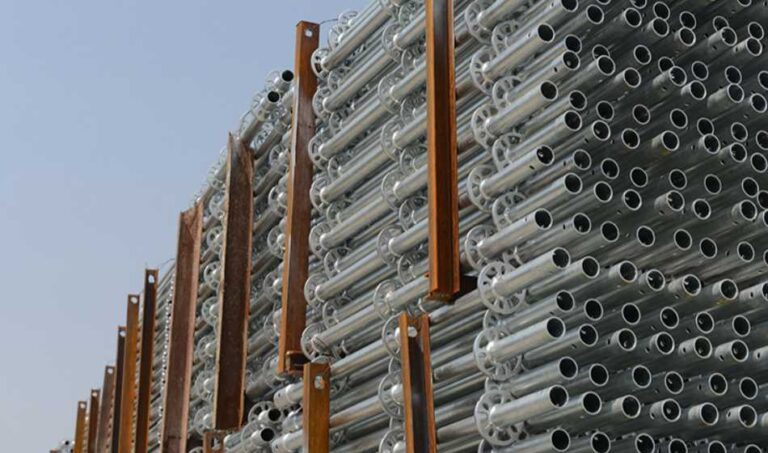
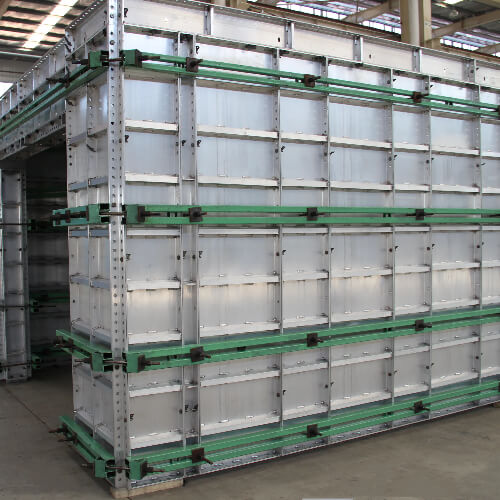
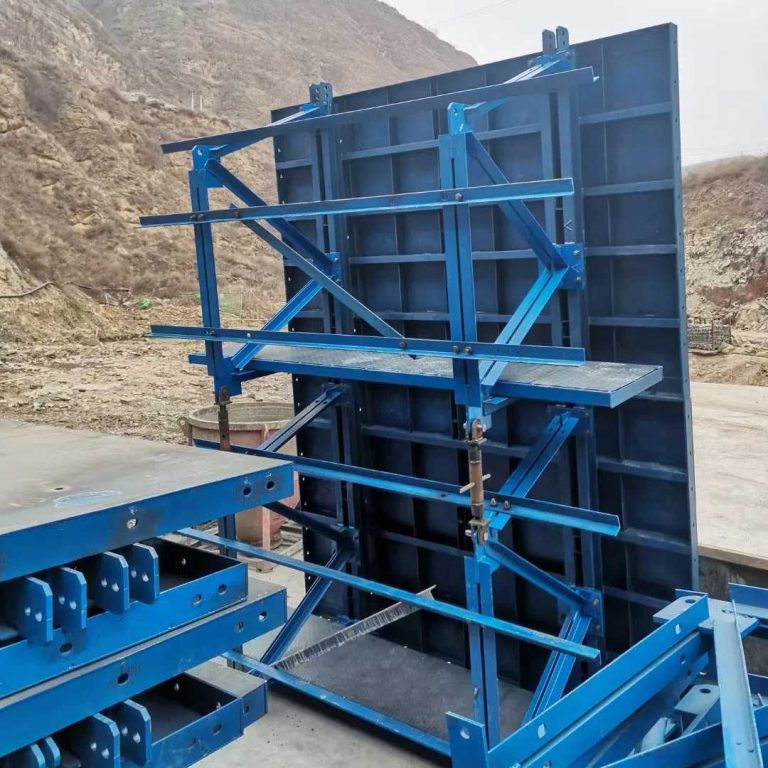
The Impact of High-Grade Materials on Load Capacity
For tall, risky spots, material type sets safety limits. We use Q355 low-alloy structural steel. It has better pull strength than the usual options. With full inside and outside hot-dipped galvanized coating, our systems fight rust well. They hold up in bad weather.
Comprehensive Engineering Support and Global Standards
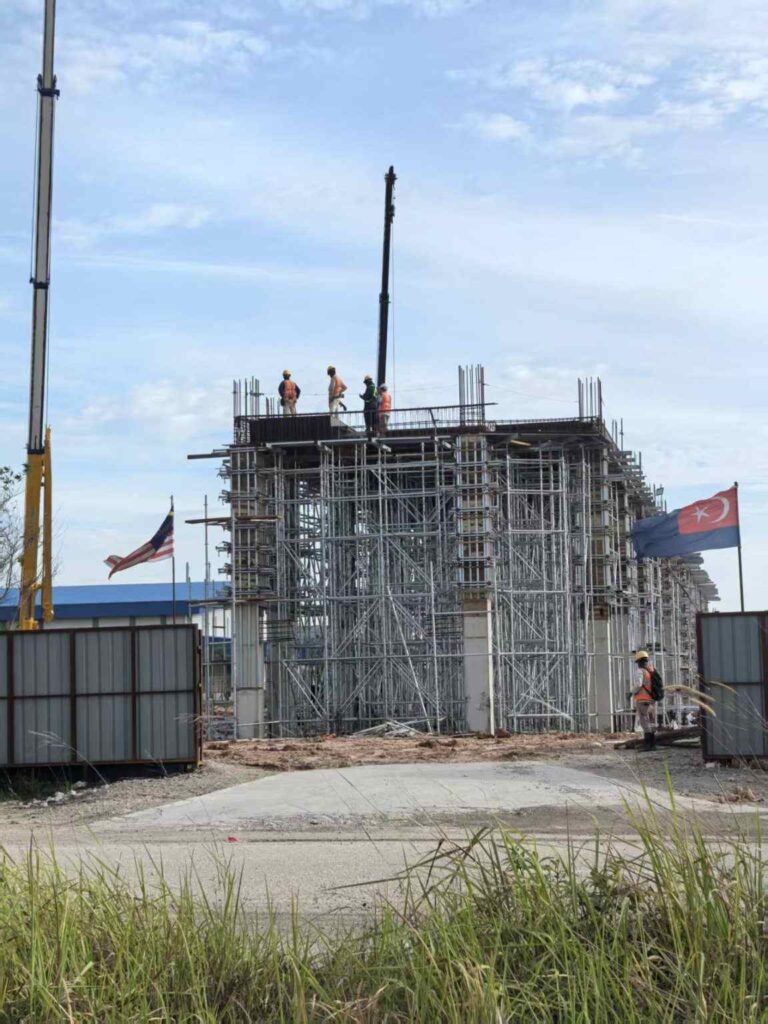
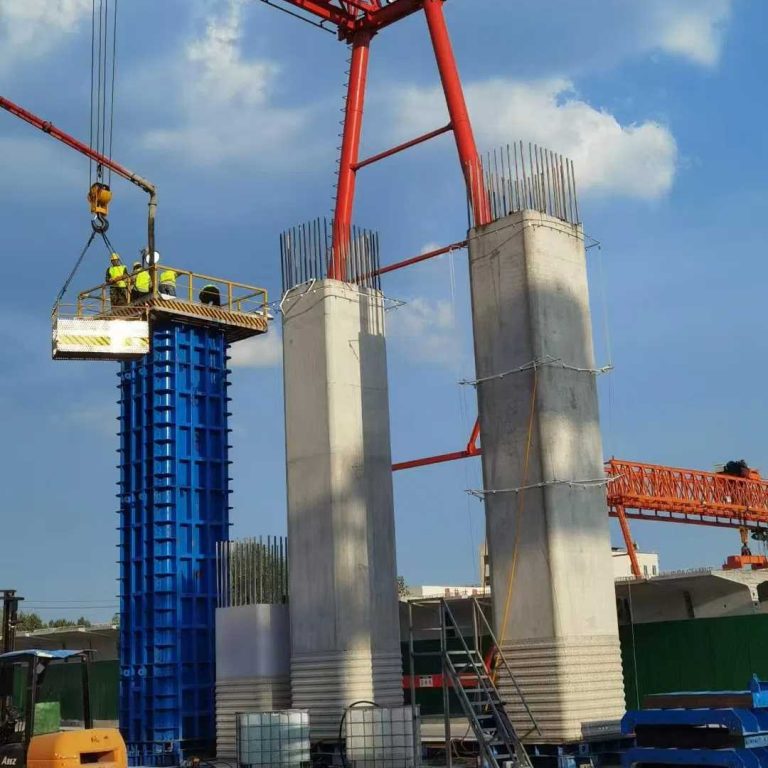
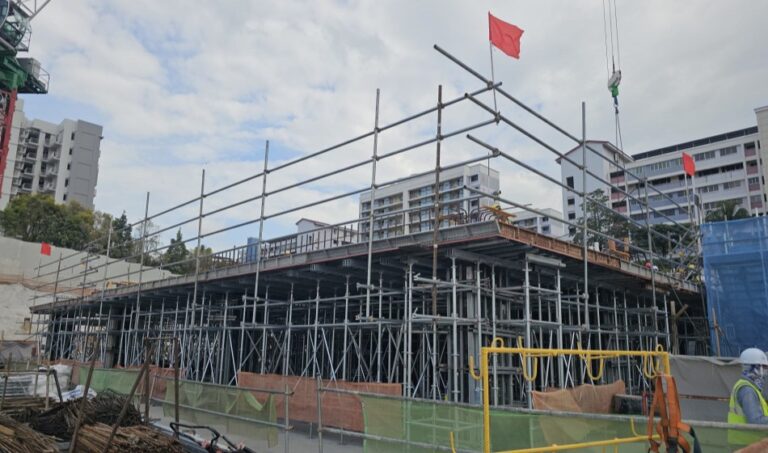
We at Acumularse go beyond exact making. We follow a full CPCO+S method. That means Consult, Produce, Construct, Operate, and Service. This approach worked well at the Pasir Ris C1 premium apartment project in Singapore. The site sits across from Downtown East. This top residential build has a detailed front design. It needs a good reach for high work. We stuck to Singapore’s strict BCA safety rules. We gave an advanced M48 and M60 ringlock scaffolding system. It brought top output and full safety for high-rise buildings. The setup handled the tight space limits of the seaside area. This shows our focus on world-class engineering.
PREGUNTAS FRECUENTES
Q: What are the primary advantages of using ringlock scaffolding for construction?
A: Key pluses are quick setup from the easy wedge-lock links. It has strong load support. The multi-way fit works well for tricky building shapes.
Q: How long does it typically take to assemble a standard ringlock scaffolding structure?
A: It uses ready nodes without extra clamps. So, setup time often drops by up to 30% from the old tube and clamp ways. This depends on the team’s skill and site setup.
Q: Is ringlock scaffolding suitable for projects with complex architectural shapes?
A: Yes. The eight-hole rosette lets links at different angles. It fits round, bent, or uneven fronts that basic frames cannot handle.
Q: What safety checks are mandatory after erecting ringlock scaffolding?
A: Key checks cover base jacks at full level. Every wedge pin must be hammered firmly. Diagonal braces go in the right spots. Guardrails and toe boards stay locked before workers use them.
Q: How often should ringlock scaffolding components be inspected for wear and tear?
A: Check before any setup starts. Do it right after bad weather. Review often during the job. Look for bent pipes, hurt rosettes, or rust that might weaken the whole structure.