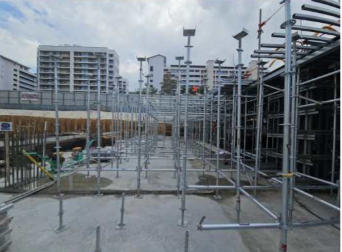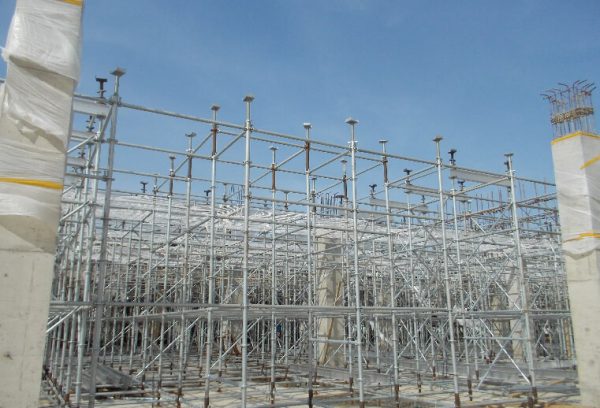

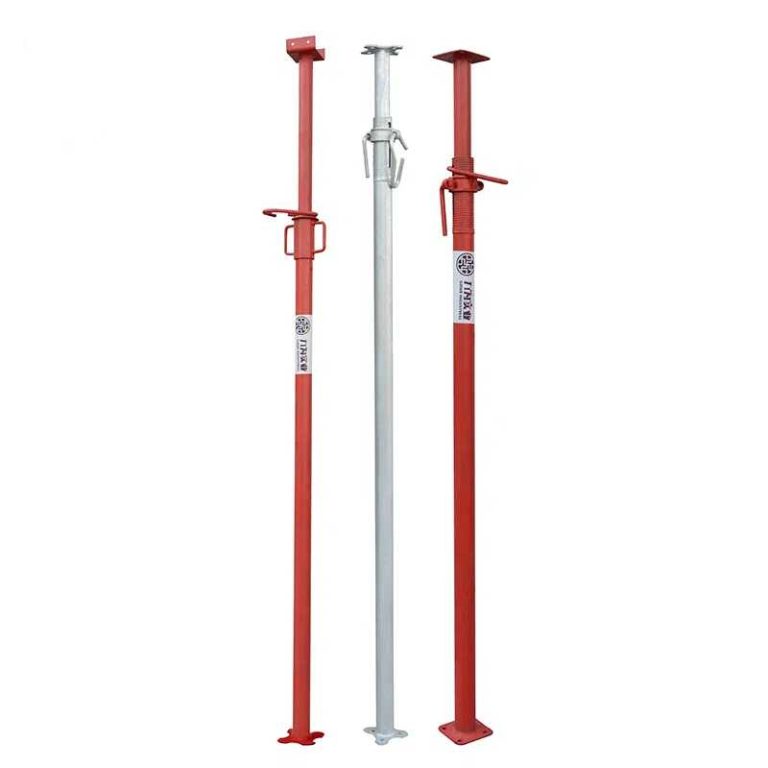
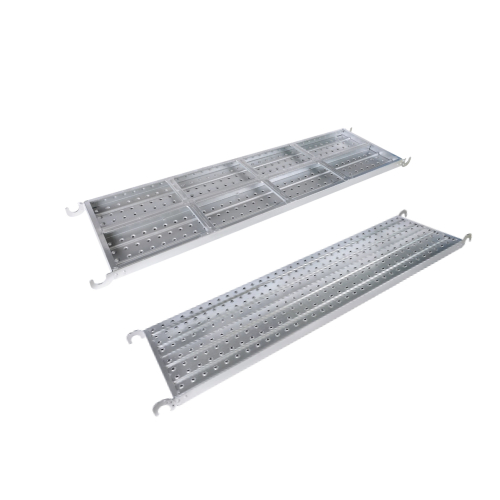
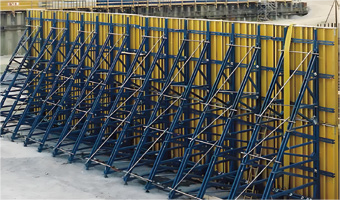
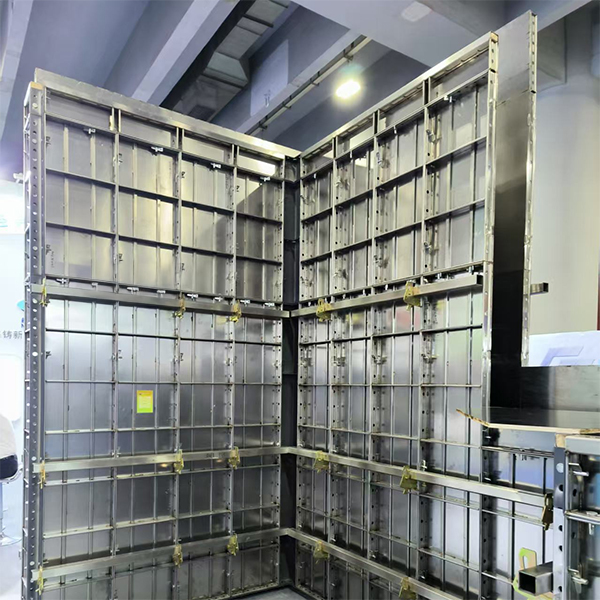
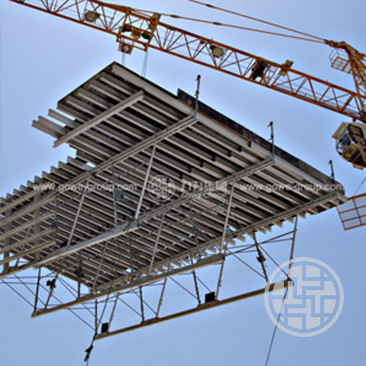





A scaffold foot is the interface point between a scaffold standard and the surface that the standard is resting upon. The selection of scaffold feet will depend upon several factors, including the ground strength, bearing area, site conditions, and the approved design of the scaffold. Simply because a plate may fit does not necessarily mean that it is the correct choice.
What Does Scaffold Foot Mean in a Scaffold Base Setup?
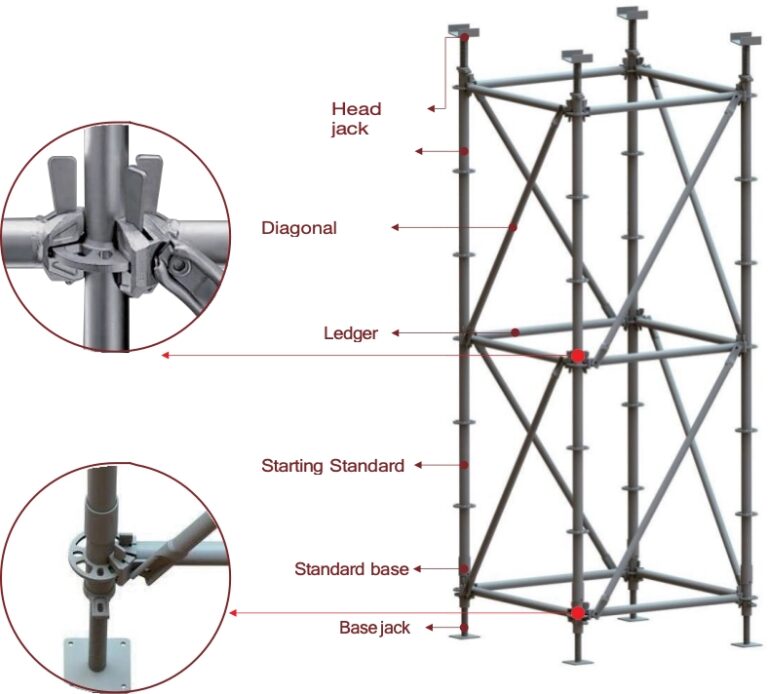
Distinguish the Scaffold Foot From a Base Plate and Adjustable Jack
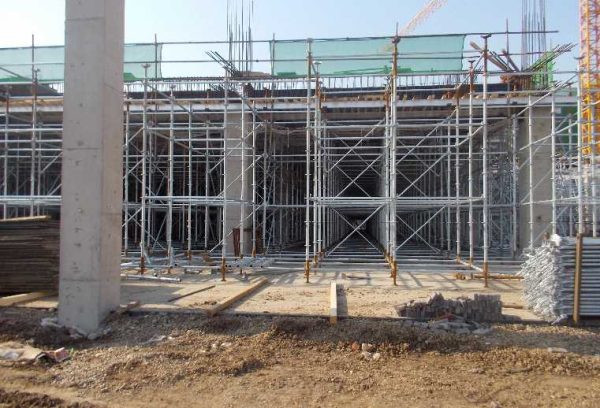
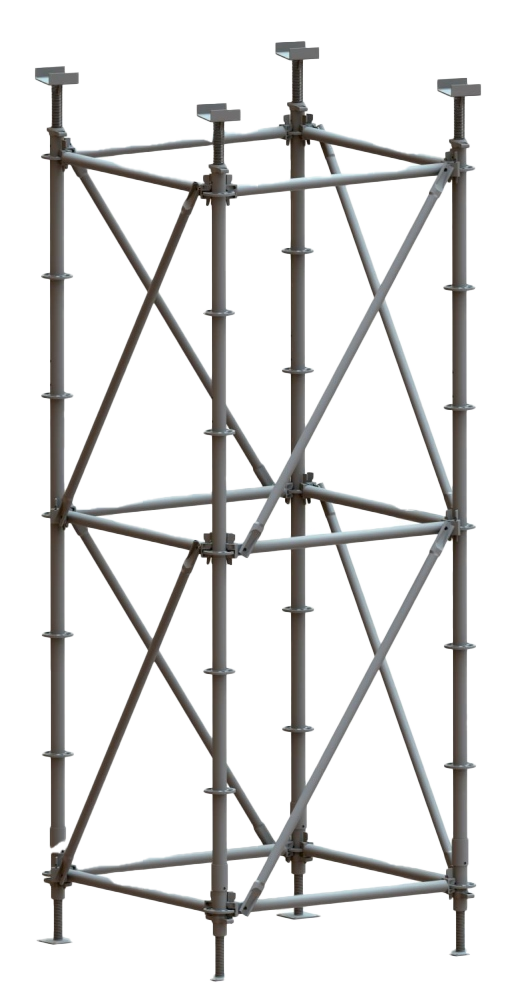
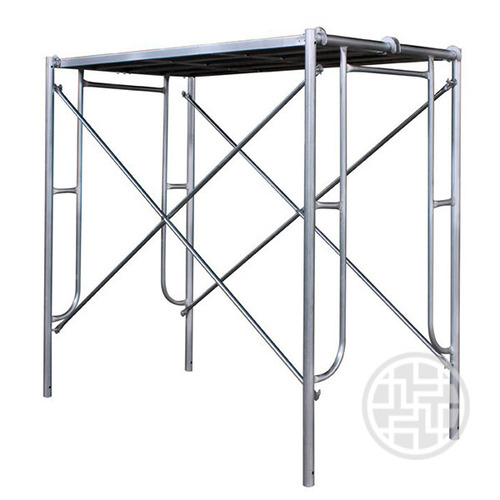
Scaffold foot describes the lower bearing interface, not one universal product. A fixed base plate provides direct contact with the support, while a base jack adds height adjustment. A sole board or mat may sit below. Different configurations, including our рамные леса, require base components that match their approved standards or frame legs. Order the parts specified on the project drawing rather than substituting visually similar pieces.
Understand How the Ground Interface Transfers Scaffold Loads
The reaction from the standard is transmitted by the foot to the ground supporting it. A narrow sole or part of it not supported can transmit high local pressure. A sole board, mat, etc. approved for the purpose in question should be used to provide a sufficient and reliable bearing at every point. The condition of the ground and its capacity must be checked in conjunction with the relevant dimensions of the bearing parts.
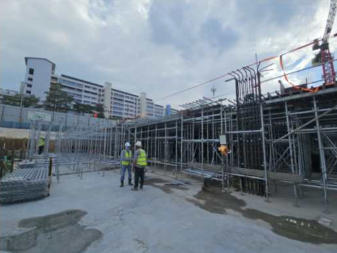
Identify Which Base Components Belong to the Approved System
When ordering a scaffold base, it may include a plate, adjustable support, collar, and load distribution material and will
be specified on the approved drawing and component schedule for the structure. It is essential that the catalogue description and specified bearing detail are recorded on the accepted scaffold foot to enable identification from spare parts of apparently similar scaffold bases.
How Does Ground Condition Affect the Scaffold Foot?
Plan for Concrete Slabs and Other Hard Surfaces
Check for slab joints, thickness, sharp edges, openings, and where buried or embedded services exist. A good finish does not necessarily mean a sound structure. Place the foot of the scaffold at a position confirmed by the designer to be of sufficient capacity. Avoid placing the foot over joints and cracks and protect vulnerable finishes from local concentrations of load.
Assess Soil, Filled Ground and Other Compressible Areas
Identify loose fill, soft spots, recent excavation, poor drainage and changes in ground level. Ground assessment is central to supported scaffold planning, especially where soil conditions vary along the scaffold line. The approved detail may require sole boards, mats or ground improvement. Follow the designed board dimensions and orientation. A larger foot cannot compensate for unstable soil when the supporting layer itself may settle or wash away.
Protect Finished Floors Without Creating an Unstable Base
On tiles, waterproofing, or finished concrete surfaces, select a solution that also supports loads. Check the compression resistance, slip resistance, and potential for trapping moisture. Multiple, loose sheets should not be used to hide uneven surfaces. Assess both the finished surface and the underlying structure. When protecting interfaces with doorways or pedestrian walkways, consider the potential for movement and the impact of moving equipment that could strike the base or shift the surface protection.
How Should a Scaffold Foot Distribute Load Into the Ground?
Match the Bearing Area to the Expected Reaction
Rather than looking at the average reaction of your scaffold, it would be better to check each standard’s reaction. The reaction at corners, access bays and heavily loaded areas will probably be different. Distribute the total reaction over the approved contact area for each standard. Equality in size does not necessarily mean that the bearing details can be identical.
Keep Bearing Clear of Edges, Openings and Voids
Mark out where trenches, drains, edges of slabs and openings are prior to commencing work. Make sure all bearing surfaces are fully supported. Plates and sole boards can pivot under load if left overhanging. Obtain an approved detail where work is to be carried out near restricted zones rather than shift work by one foot.
Check Contact and Alignment Across Adjacent Feet
Check adjacent sole plates for any signs of movement before placing loads on them; i.e., can they be rocked from side to side, is there poor contact between sole plates at corners, are they sloping? Measure and record the initial levels of any areas expected to settle. Compare levels of adjacent scaffold feet to expose any unevenness before it causes problems higher up. Note any change in bearing materials across a bay and draw a diagram to show transition. Do not assume a uniform support condition elsewhere.
What Scaffold Foot Problems Should Be Checked During Construction?
Watch for Settlement, Tilting and Loss of Full Bearing
Check for footprints in the soil, crushed board ends, spreading gaps and sloping plates. Look for signs of corrosion, bent corners and cracked welds. If unsure whether something is moving, then restrict access until checked by an appropriate person to assess support.
Avoid Improvised Packing Used to Correct Uneven Levels
Bricks, offcuts, loose wedges and piles of thin plates are not alternative bearing points and can split or move under load. In some cases, they could even create a small area of high pressure. Where there are differences in site levels, an approved method must be used to transfer the load. Never rely on anything to support your weight while you are balancing on it.
Recheck the Base After Rain, Ground Disturbance or Scaffold Alteration
Softening of exposed earth by rain, as well as disturbance by vehicles or excavation below the sole of a bearing, can cause damage. Check all newly developed gaps, all discharging water, as well as all changed heights of bearing places, and record all single cases, including the carried-out correction. A simple photo is not sufficient. It must be clearly stated whether the single support has been unloaded, has been replaced, or can be used with approval.
How Should the Right Scaffold Foot Be Selected for a Project?
Start With a Location-by-Location Base Schedule
List each footing position with its supporting surface, expected reaction, and specified plate/distribution layer. Mark slab edges, ramps, soft spots, and heavily loaded bays. Note any exceptions prior to delivery. This schedule will guide your crews to the correct areas. For procurement purposes, list the plate and list its support components and bearing material separately to avoid confusion with quantities of other parts that are needed.
Check Contact Dimensions and Component Condition
Check the approved dimensions of the plates and the type of bearings against the delivered articles for distortion of the plates, damaged threads where relevant, unequal surfaces for contact, and loss of identifying marks. When selecting from different scaffolding systems, confirm the intended base configuration before comparing component sizes. Verify full contact within the bearing zone. Reject parts that cannot achieve proper bearing.
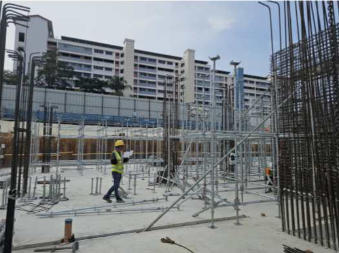
Allow for Drainage, Access and Future Site Work
Be aware that an initial location for a sole board could later conflict with a trench or a delivery route. Check the footprint of the bearing area with the planned site activities. Sole boards should be kept clear of debris and prevent surface water from entering. Take into account delivery routes and fencing when placing the perimeter support points. Get a change noted and agreed before another trade moves the bearing area.
How Can Scaffold Foot Conditions Be Managed Through Construction?
Keep Footing Areas Visible and Accessible
Ensure scaffold feet are kept clear of spoil, materials and cladding where appropriate. Mark out critical points on the scaffold where soft ground or proximity to an edge requires closer inspection. Allow access to the underside of plates and to edges of sole boards. Access to these areas will enable detection of sinking, sliding and moisture damage.
Use Specific Records Instead of Generic Checkmarks
At handover, take photographs of selected bearing positions, record surface & sole board condition & level reference where designated. Record any unusual ground treatment and note changes, observations & approved corrections at subsequent inspections. Specific records rather than general checkmarks are more useful. Use a simple location code on the site drawing to enable comparison of recurring observations.
Separate Reusable Components From Damaged Materials
Inspect plates, welds, and contact faces on demolition day and clean serviceable parts for subsequent storage or rental. It is advisable to take clear photographs of rejected components to aid subsequent purchasing and verification of replacement components. However, do not automatically reuse compressed timber sole boards and soiled protection layers. Formwork and scaffolding are supplied by GOWE, but bearing and reuse of the same on a particular project is at the discretion of the project.
ЧАСТО ЗАДАВАЕМЫЕ ВОПРОСЫ
Q: What Is a Scaffold Foot and What Does It Support?
A: The lower base interface of the scaffold that disperses the scaffold standard load down to an approved surface.
Q: What Should Be Placed Under a Scaffold Foot on Soft Ground?
A: Use the sole board, mat, or engineered bearing layer as specified after assessment of ground capacity.
Q: How Is a Scaffold Foot Different From a Base Jack?
A: A scaffold foot is the surface of the scaffold that rests on something; a base jack is an adjustable part of that scaffold foot.
Q: Can a Scaffold Foot Be Installed on a Sloping Surface?
A: A scaffold foot can be installed on a sloping surface only where an approved support detail maintains contact and alignment in accordance with the design standard.
Q: How Often Should a Scaffold Foot Be Checked for Settlement?
A: Inspect before use and after events likely to change the bearing surface, including heavy rain, excavation, or movement.