
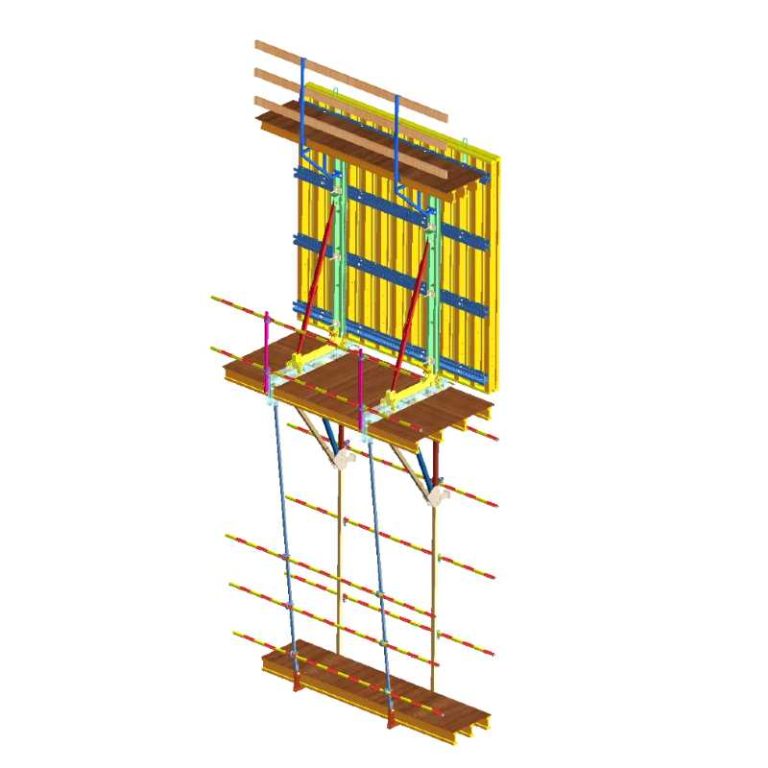
The economic benefit of an aluminium formwork system is entirely dependent on careful handling at construction site. Since the system is designed for 150 to 300 reuse cycles, it needs standard installation methods and regular daily maintenance if it is to achieve its full operating life.
The following step-by-step installation guide shows site engineers, contractors, and project managers how to carry out the field assembly procedures and maintenance techniques.

Step 1: Pre-Pour Site Preparation and Layout Tracking
Flawless vertical alignment begins before a single panel is erected on the slab:
- When checking the perimeter concrete kicker and the floor slab surface, if there are any height discrepancies they should be corrected using grout in order to avoid cumulative alignment errors on the upper floors.
- For layout line marking, paint the structural reference lines directly onto the cured floor slab, in strict compliance with the approved shop drawings, in order to accurately establish the positions of the walls and columns.
- To apply the release agent: spray or brush on to the panel surfaces a thin and even layer of form oil. Applying the release agent properly will prevent the concrete from bonding, thus ensuring that it can be cleanly stripped off and at the same time protect the aluminium surfaces from chemical corrosion.
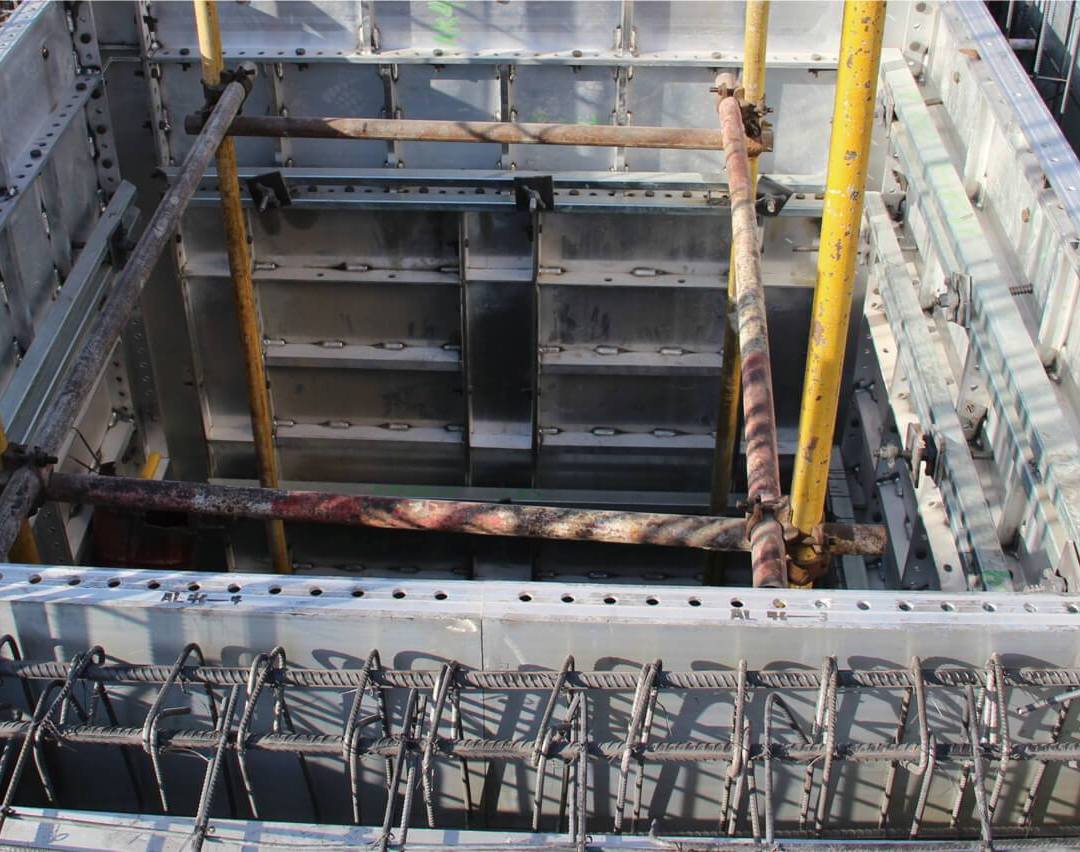
Step 2: Vertical Wall and Column Panel Assembly
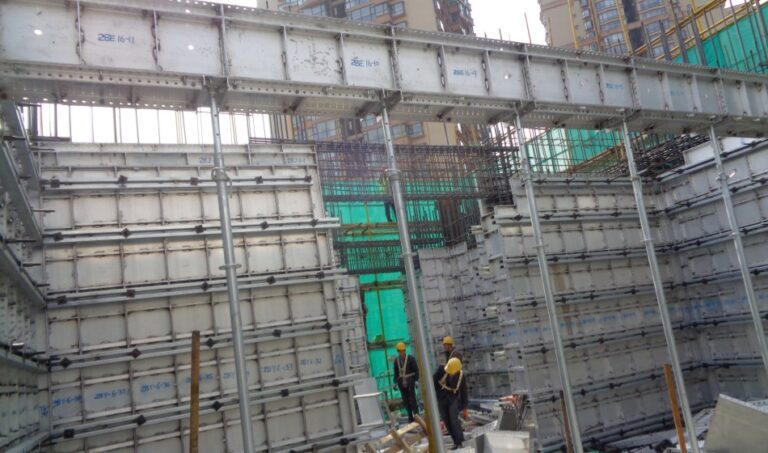
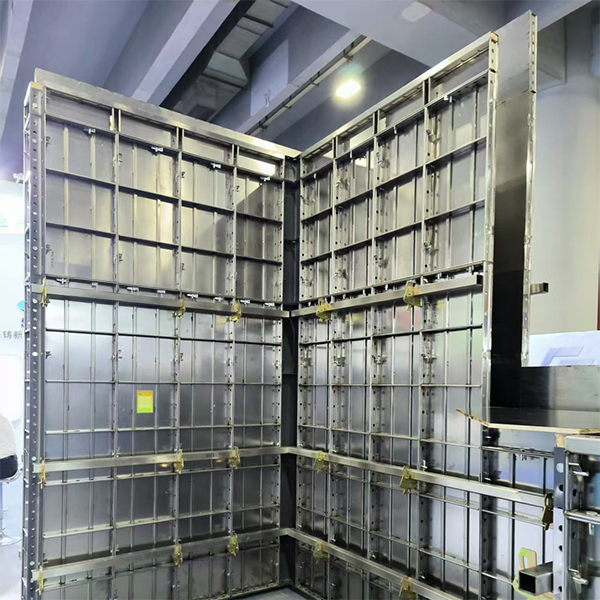
- The panel installation should always start with the internal corners (IC panels) so as to establish a stable anchor structure.
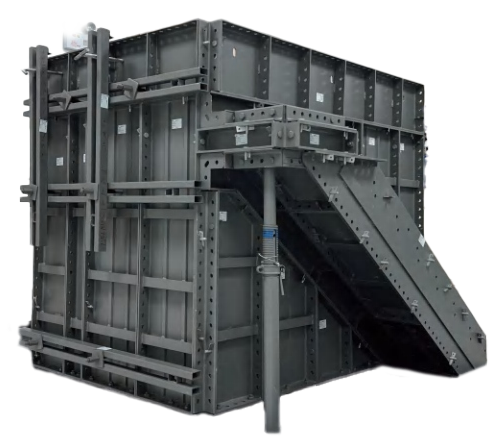
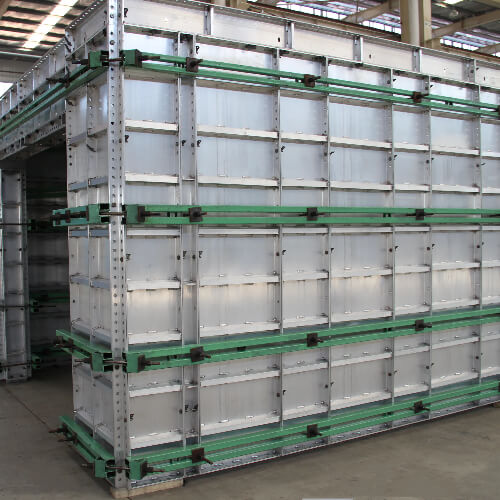
- When fitting the wall panels, place them one after another along the marked control lines and secure the flanges of adjacent panels with steel pin-and-wedge connectors at regular intervals.
- When inserting the high-tensile wall tie rods, pass them through the protective PVC sleeves which are placed between the two opposing wall panels. The tie rods serve to absorb the lateral pressure exerted by the wet concrete during pouring.
Step 3: Decking, Beams, and Prop Installation
Once vertical wall enclosures are secured, horizontal deck installation proceeds:
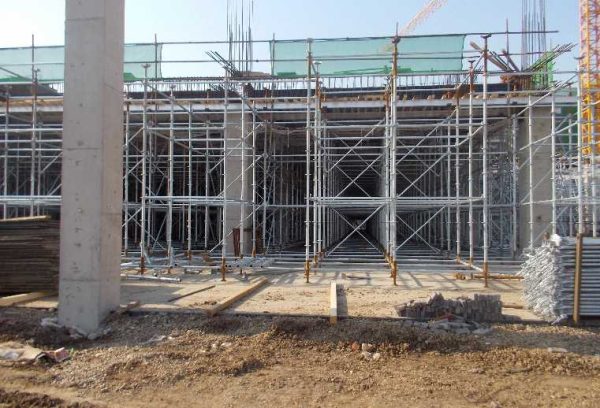
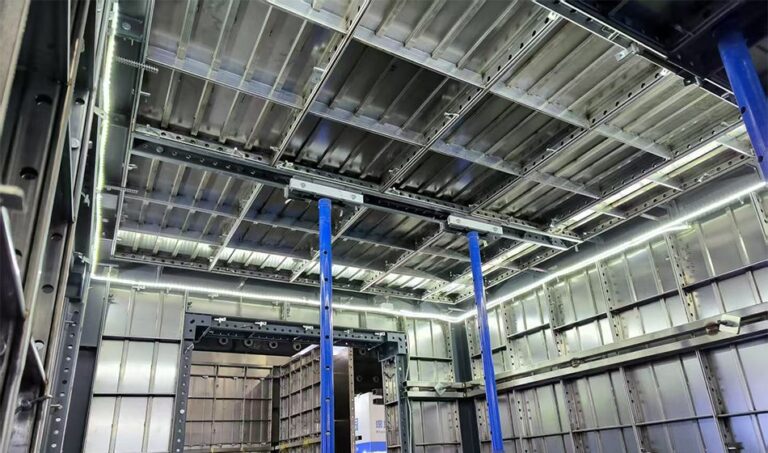
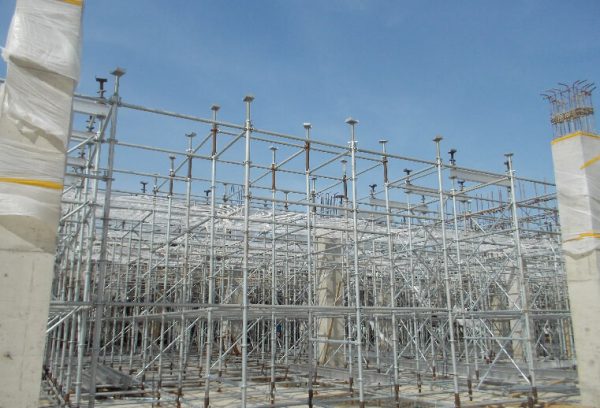
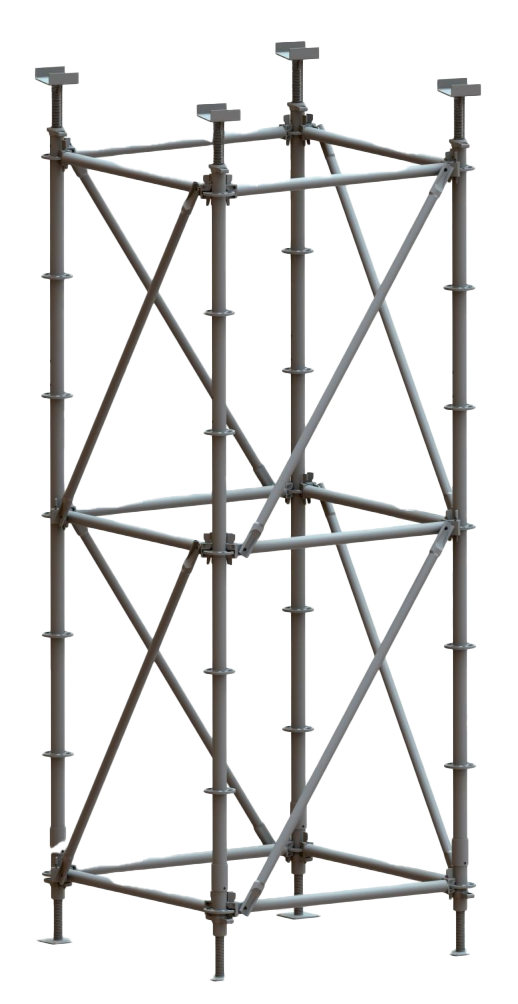
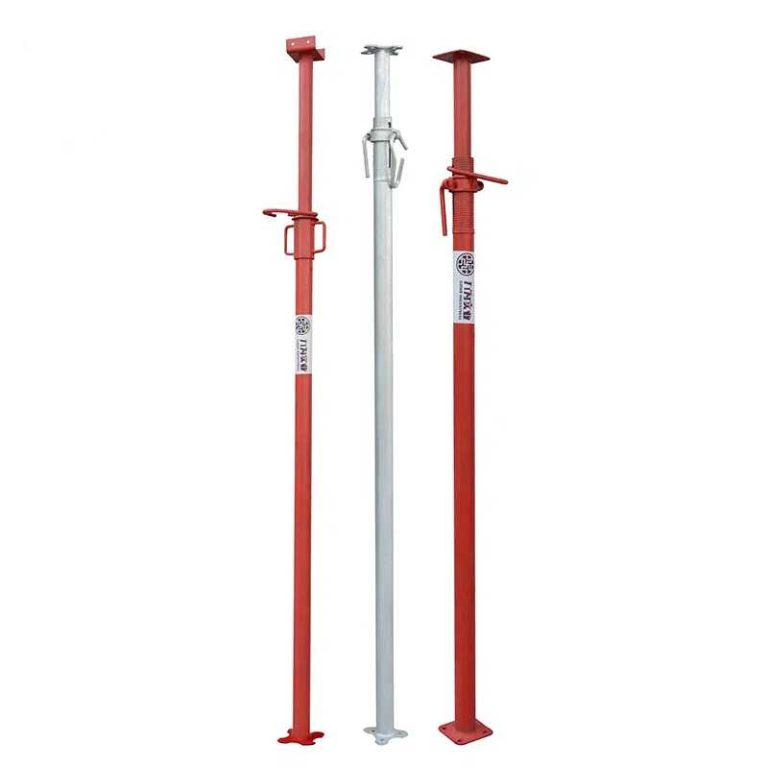
- Install adjustable steel props fitted with prop heads for early stripping along the specified beam lines.
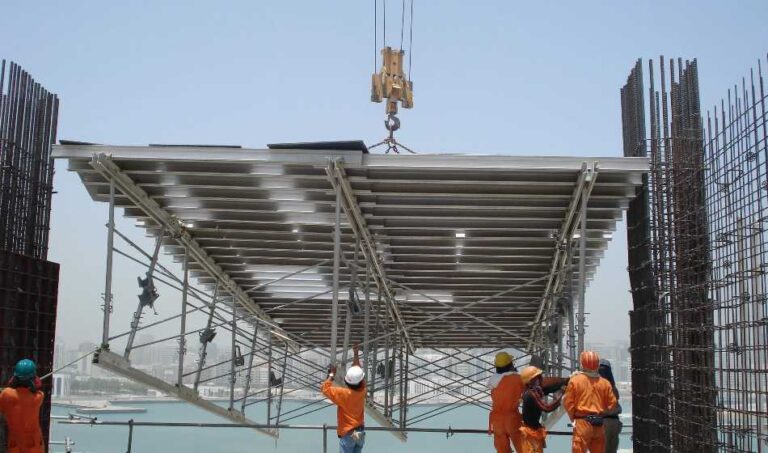
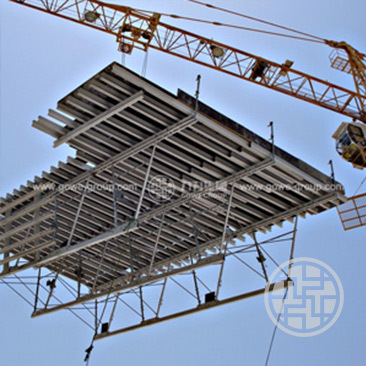
- For the slab deck panels, place the horizontal slab panels on to the support beams and use pins and wedges to lock the edges of the panels together so as to form a continuous and leak-tight casting deck.
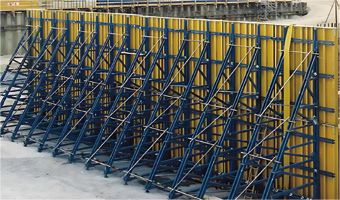
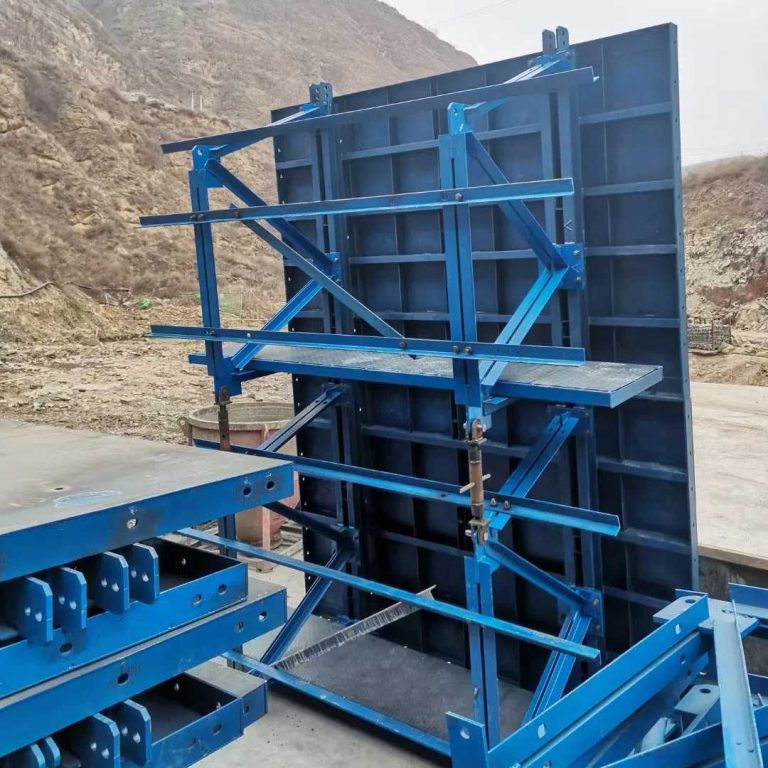
- For plumbing and bracing, secure heavy-duty turnbuckle braces to the vertical wall panels and then adjust the turnbuckles by using laser levels or plumb bobs to ensure that the walls are completely vertical.
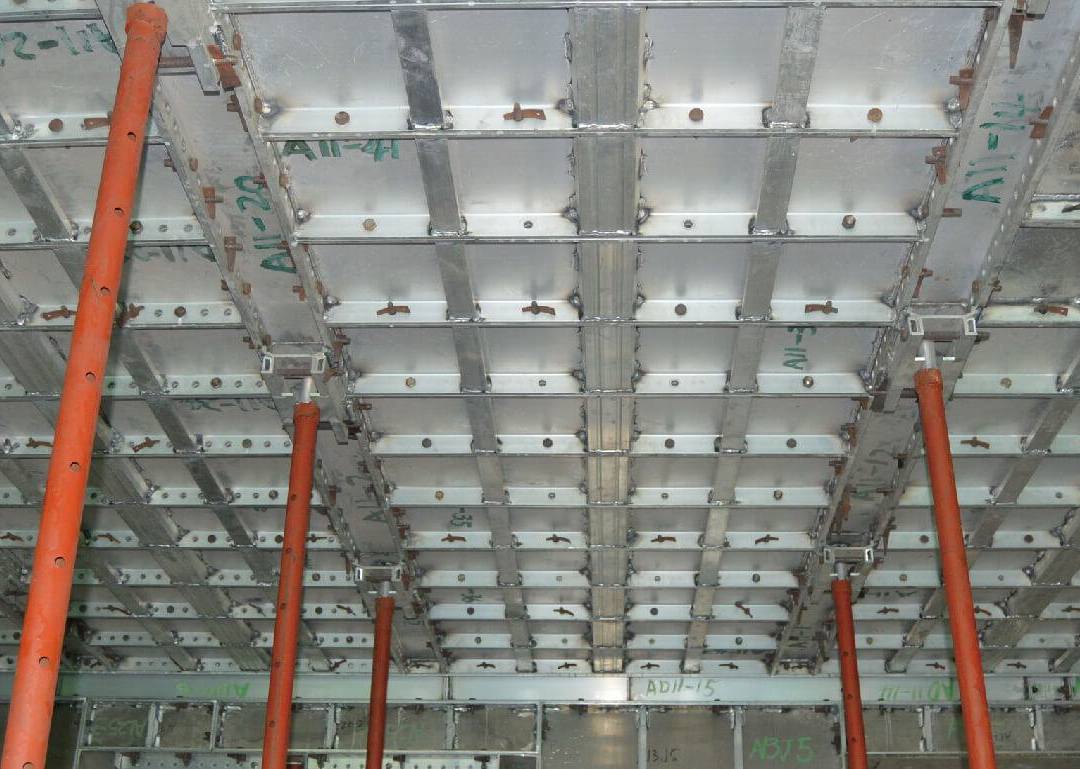
Step 4: Concrete Pouring and Early Stripping Protocols
During concrete placement, field crews must observe key pouring speeds and vibration procedures:
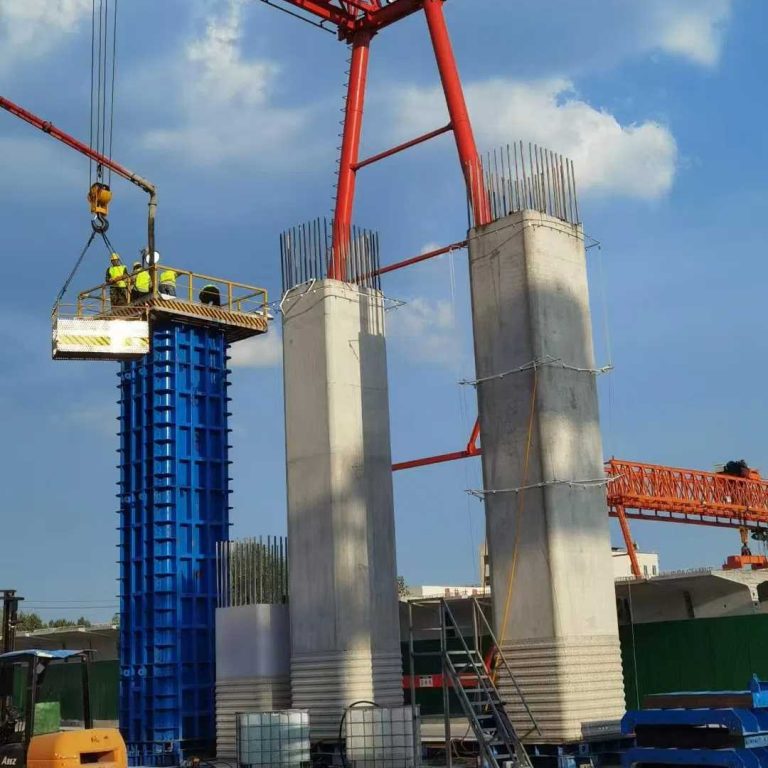
- Pour the concrete in even horizontal layers (usually 300 to 500mm with each lift) in order to prevent local hydraulic pressure surges.
- To avoid air pockets, insert the concrete vibrators evenly and make sure that the head of the vibrator does not strike the faces of the formwork panels.
- For early-stripping, after the concrete has been cured (for a period of 12 to 24 hours, depending on the mix), the wall and slab panels should be stripped. It is important, however, to keep the early-stripping props fully in place under the horizontal slabs in order to ensure continuous structural support.
Preventive Maintenance Tips to Extend Panel Lifespan
To ensure your panel inventory reaches its full 200+ cycle capacity, enforce these daily maintenance rules across all construction shifts:
1. Immediate Post-Stripping Cleaning
Remove the concrete slurry from the panel surfaces as soon as possible after removing the panels, while the mixture is still soft. Rigid rubber scrapers or high-pressure water jets should be used. It is never acceptable to use steel crowbars, sledgehammers, or metal picks to push the panels apart since mechanical impacts will damage the precise edges of the panel joints.
2. Hardware Management and Storage
As soon as the pins, wedges, wall ties, and PVC sleeves are removed, gather them up and place them in separate storage boxes available at the job site. Failure to leave the hardware scattered across the floor decks will result in job losses, dangerous working conditions, and additional replacement costs.
3. Stack and store panels neatly.
When transitioning formwork inventories between project phases:
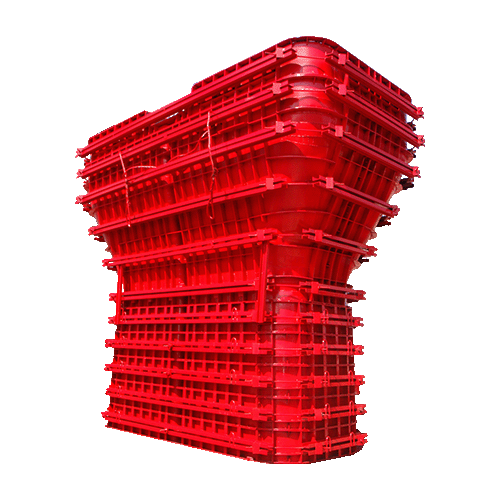
- Place the stack panels horizontally on some timber dunnage that is raised so that the panels do not come into contact with mud and water.
- Group the panels by size and by the alphanumeric identification codes corresponding to those in the shop drawings to make setup on later floor levels easier.
Summary of the best practices: Installation and maintenance
| Operational Phase | Key Action Required | Common Mistakes to Avoid |
|
Pre-Installation
|
Apply chemical release agent evenly | Omitting form oil (causes concrete sticking) |
|
Assembly
|
Lock pins and wedges at every hole | Leaving missing pins (causes joint leakage) |
|
Concrete Pouring
|
Maintain steady vertical lift speed | Over-vibrating against panel faces |
|
Stripping
|
Use dedicated pry bars on designated slots | Stripping with heavy sledgehammers |
|
Maintenance
|
Clean panels immediately after removal | Storing uncleaned panels with hardened concrete |
Partnering with Precision Engineering
Carrying out the correct site installation, together with regular maintenance, guarantees high-quality concrete that is even in appearance and keeps job sites safe. If you work with a skilled aluminium formwork manufacturer, your field teams will receive full shop drawings, get technical training on site, and be supplied with durable hardware that has been designed for long-term project success.
Get in touch with our technical support engineers right away if you would like the complete site installation manuals and safety guidelines.